
This is a step by step guide demonstrating my journey in creating the Wolf Ridge Keyhole Garden. This garden was inspired by an article featuring Dr. Deb Tolman’s Keyhole Gardening “Unlocking the secrets of drought-hardy gardens” inspired by African design. This garden is drought hardy and does well in areas with little rainfall and nutrient poor soil. It is a raised bed filled with compostable materials and a center compost container that feeds nutrients to the roots of the plants. The center compost container is to be continuously filled with household throw away food leftovers, like apple cores, tomato and bread left overs, eggs shells, even torn cardboard egg cartons and even more.
Here is the link to the article http://www.texascooppower.com/texas-stories/nature-outdoors/keyhole-gardening.
As an education intern I worked closely with Savanna Henderson, the NIFA intern. As an intern for the National Institute of Food and Agriculture grant here at Fossil Rim, she has worked on many projects concerning hunger and food insecurity in many different parts of the world. This method of gardening, I believe, could be a great solution to reduce food insecurity in our own back yards. It is believed that 3 keyhole gardens of this size could sustain a family of ten for a whole year. I hope to test this hypothesis (that this garden could support at least three people) once the plants are mature, even in the cooler months when a greenhouse set up is necessary. I wanted this to be a decorative Keyhole Garden, one that visitors could learn from and take home to consider for themselves. The typical plan for this garden requires only simple materials that are recyclable and easily found in nature.

This is day one in creating the Key Hole garden. I cleared out an 8’ by 8’ area. Removed the rocks and made the ground level. Then with a rope and tent stake mapped out and area approximately 7’ by 7’.

The next day I used left over cement block from support to make the perimeter of my garden, making sure to have no more than a 6’ by 6’ interior. It needed to be at least 4’ tall, in the end over 60 cinder blocks were used.

Once the exterior was built, metal sheets were secured inside along the wall. This would keep the pressure of the soil off the wall and keep moisture and soil from seeping through the cracks.

A trench about 6’ deep was dug out with an ice pick and shovel. Then several cedar post were cut to 4 ½’ and placed in the ground. T- post were added and beat down to give support.


The cedar post on either end of the keyhole opening was secured around the t-post to lock in the post before the rest were positioned.
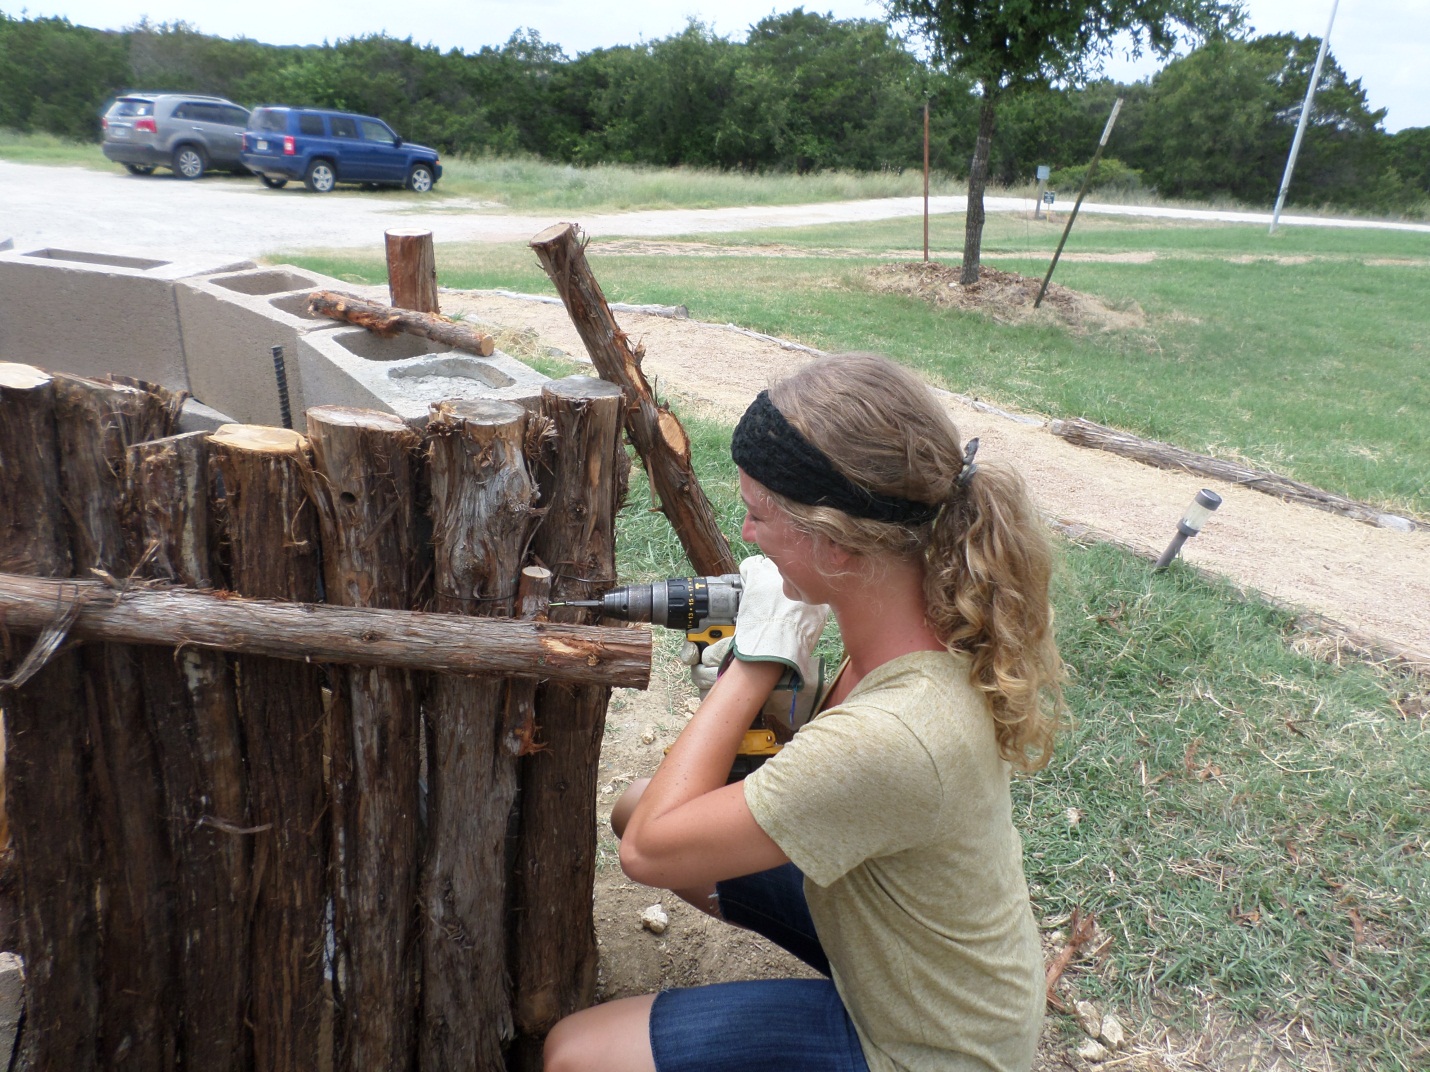
The cedar posts were lined up, and then a cedar brace was added for support.

Once the posts were in the right position, cement was mixed and then poured into the trench to make the cedar post even more secure.


The interior of the cinder block wall and the ground layer was lined with cardboard; this will also keep nutrient leakage minimal.

The center compost area was made out of left over wire, and placed in the center of the garden. Rocks line the edge to keep it in place.

Compostable materials, such as; compost from support, cardboard, hay and feed bags were added in layers to fill the garden.
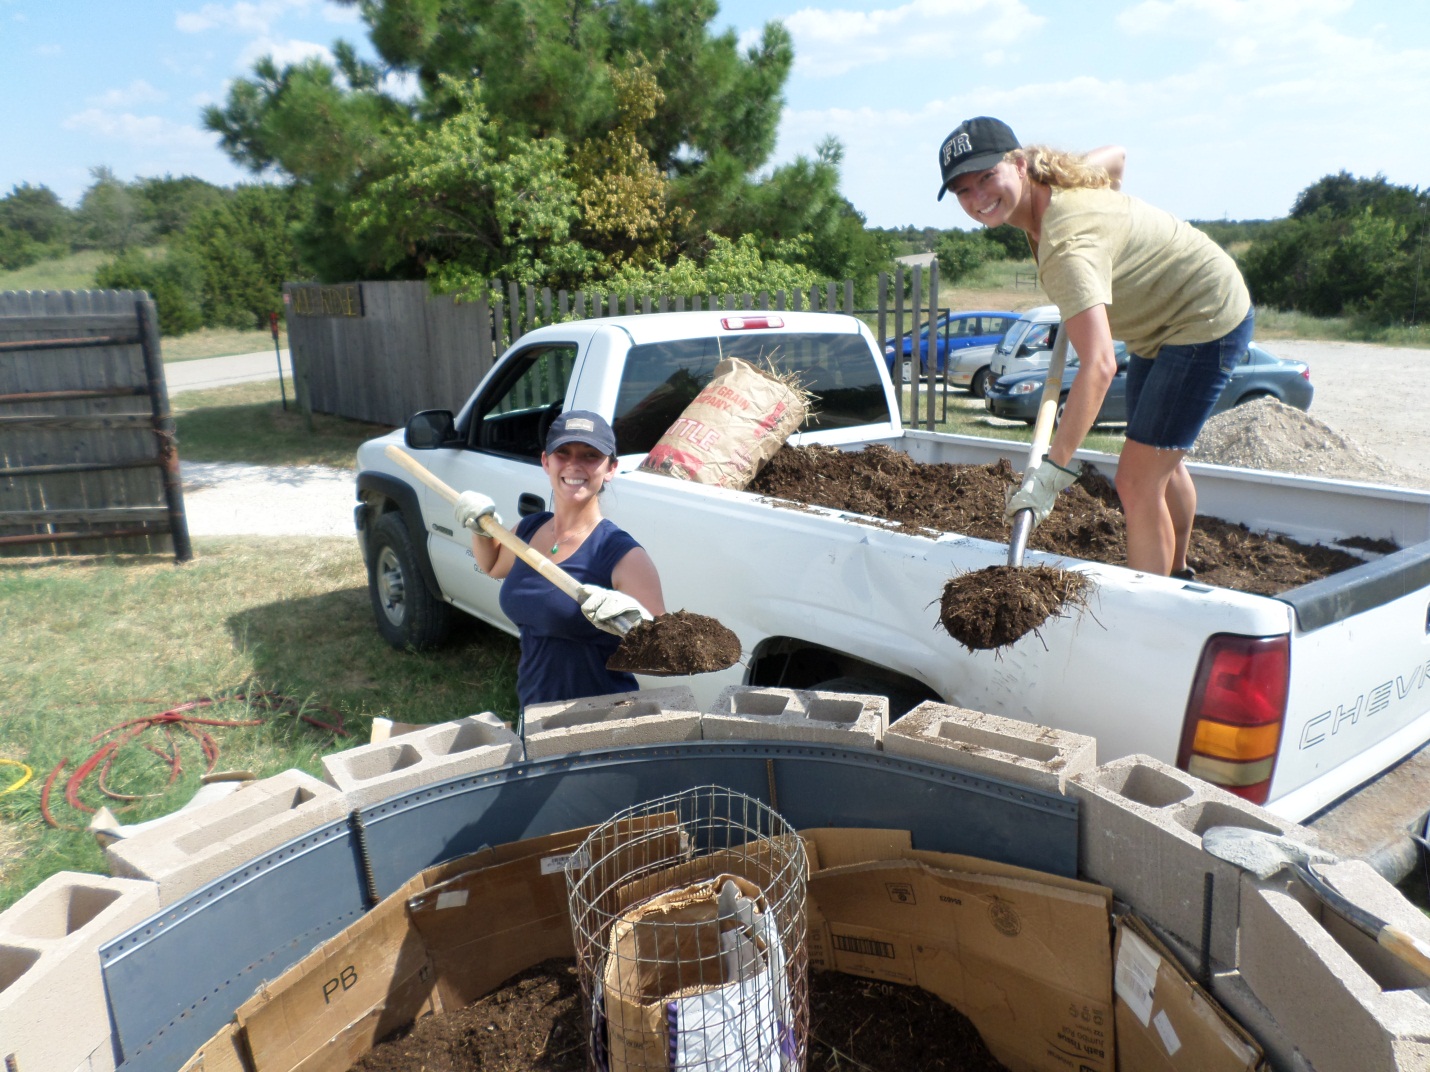

The last layer to be added was rich composted soil; this was added in a sloped fashion so nutrients would naturally flow downward from the center compost to the roots of the plants.

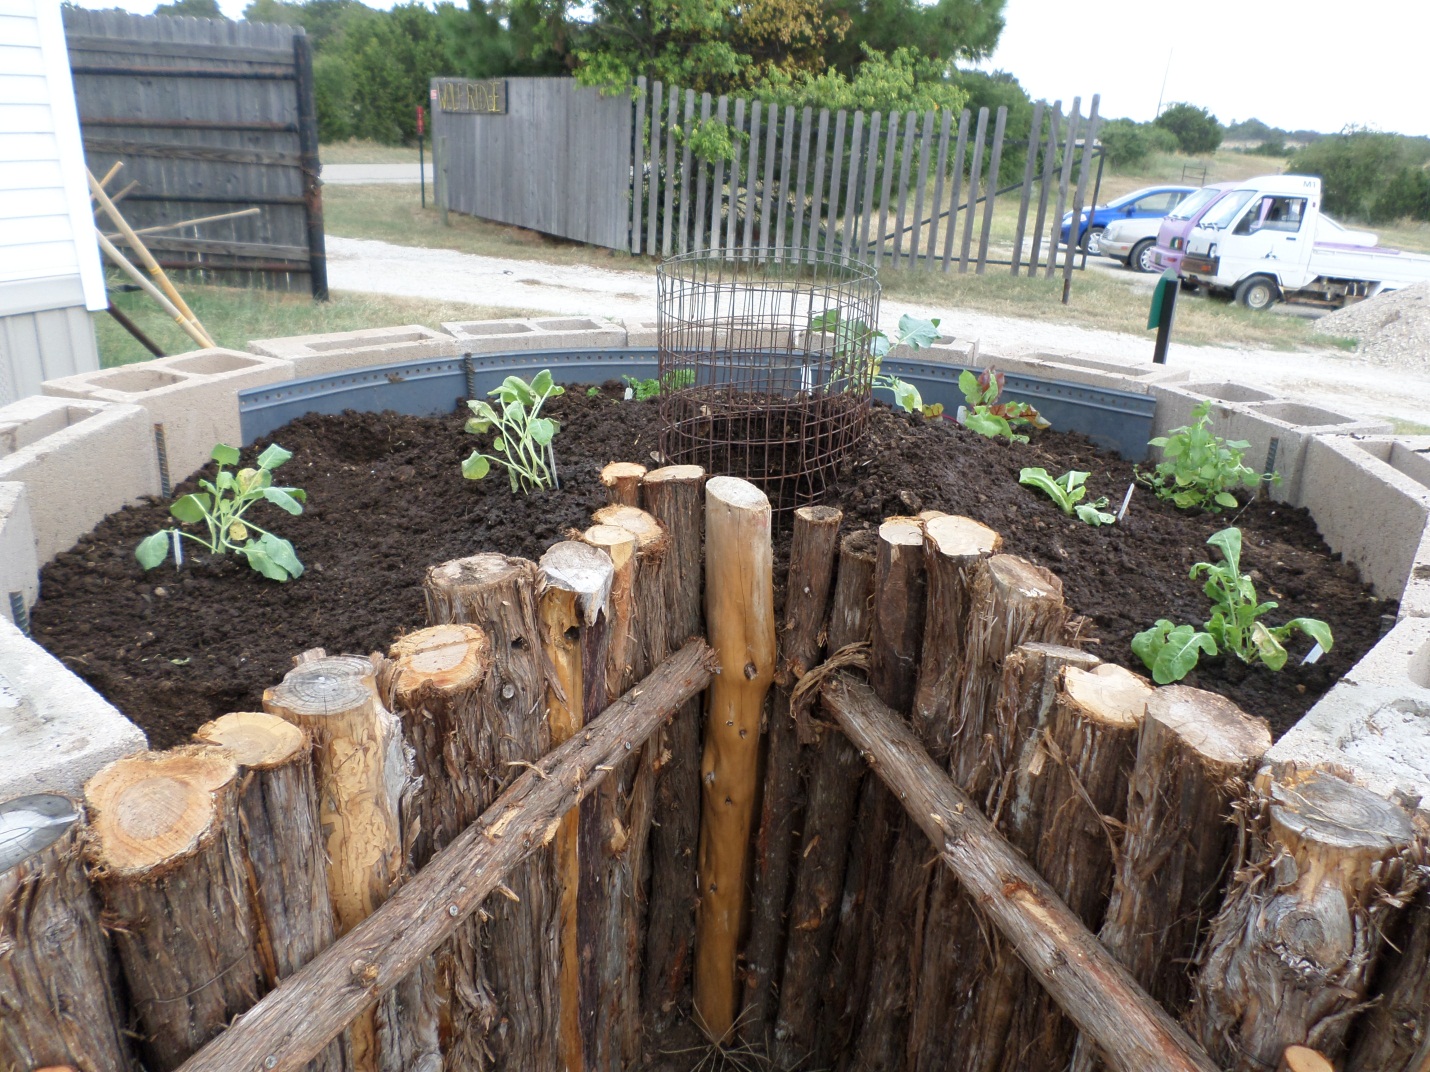

At last, our baby plants were planted. We planted all organic sugar snap peas, beets, kale, lettuce, broccoli, collard greens, spinach, and arugula. Soon they will be ready to eat! We also planted mint and parsley for pest management.
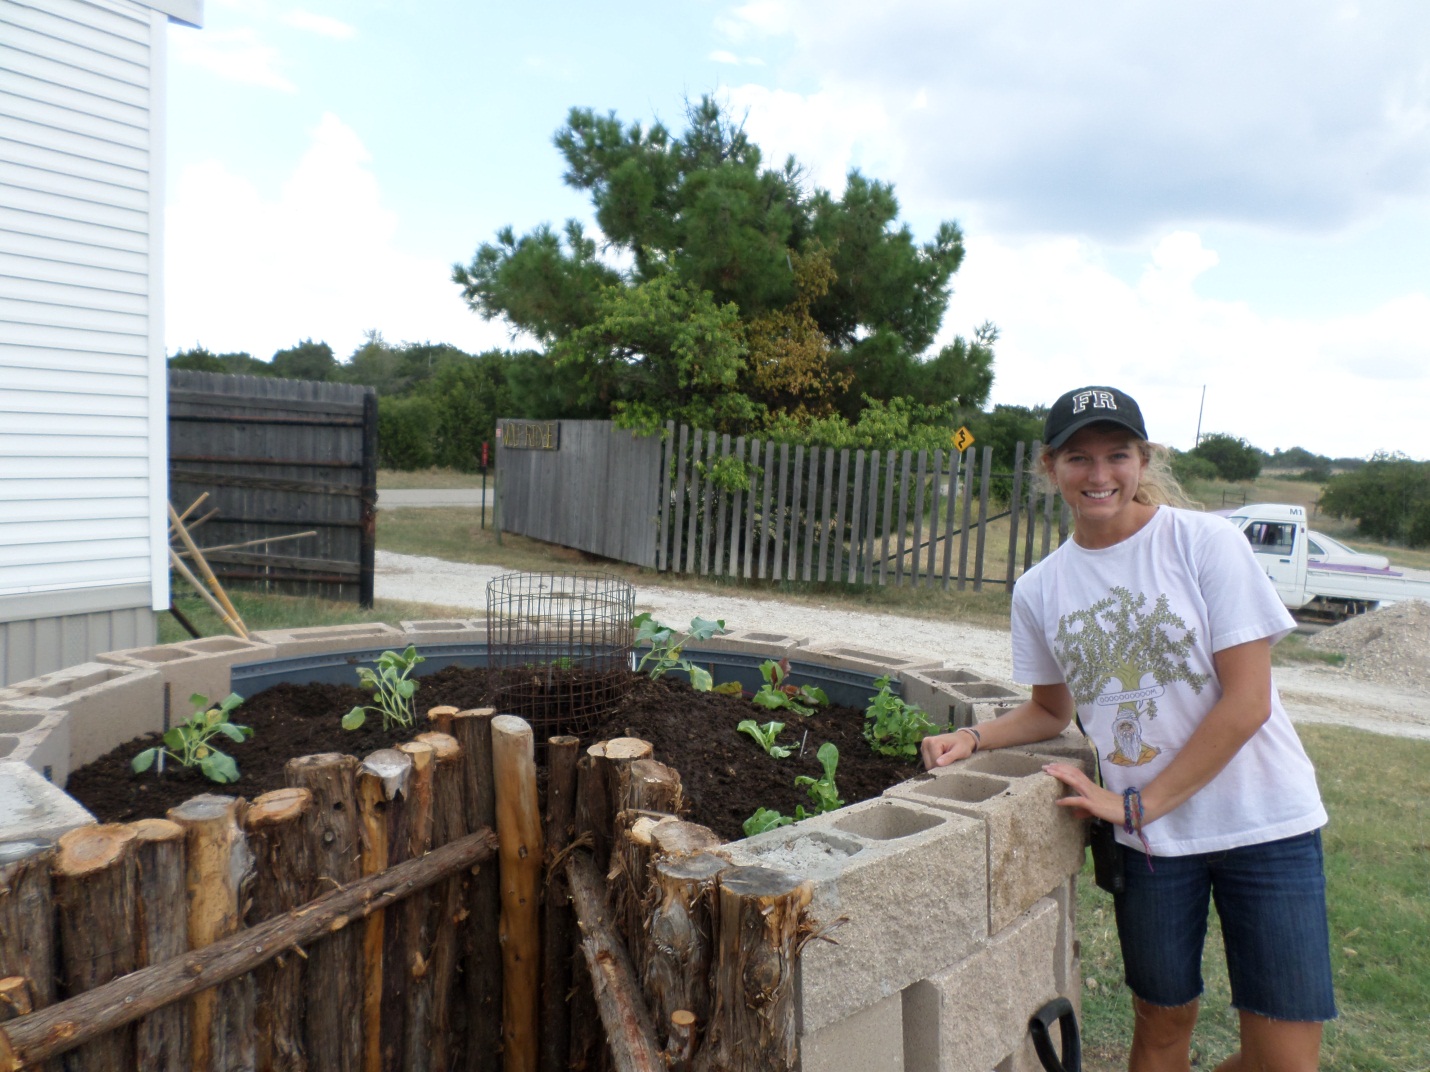
To make it look extra a nice, a wooden shelf was added, from that an outer wire will be constructed to keep critters out, like deer and raccoon. There will be alternating sections that will open, so that we can reach our plants and keep adding compostable material to the compost center.

By: Calyn W.

[…] How to create a key-hole garden | Fossil Rim Blog. […]
[…] at Wolf Ridge Camp at Fossil Rim, we have our own garden, as shown in the last post. Our keyhole garden was modeled after a design used in areas suffering from degraded soil and lack […]
I like your blog. Bookmarked.